Now that you and your group members have created a visual design of your energy using color and pattern, it's time for you to make a stained glass window of your own!
In your groups, go to tinkercad.com and make an account. Follow the tutorial on how to use the design lab to get to know TinkerCad a little better. Once you and your group mates are finished, follow the steps below to get started with your 3D print.
In your groups, go to tinkercad.com and make an account. Follow the tutorial on how to use the design lab to get to know TinkerCad a little better. Once you and your group mates are finished, follow the steps below to get started with your 3D print.
Step 1:
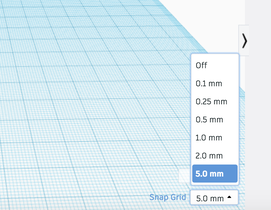
Once you have TinkerCad open, begin by changing the snap grid settings to 5.0 mm.
Once you have TinkerCad open, begin by changing the snap grid settings to 5.0 mm.
Step 2:
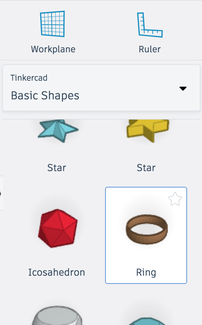
Select the 'ring' object from your Basic Shapes folder and drag it onto your plane.
Select the 'ring' object from your Basic Shapes folder and drag it onto your plane.
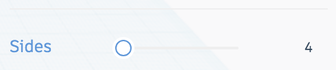
Continue this step by decreasing the number of sides to 4.
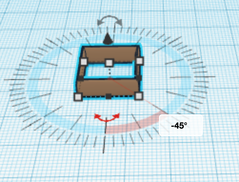 Figure 1
Step 3:
Using the red arrows, rotate your object's angle by 45 degrees (see Figure 1).
Using the red arrows, rotate your object's angle by 45 degrees (see Figure 1).
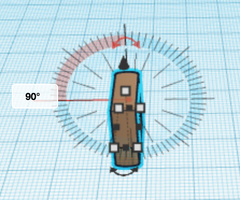 Figure 2
Then, rotate its position by 90 degrees (see Figure 2).
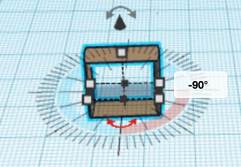 Figure 3
The last part of this step is to rotate it to the right by 90 degrees (see Figure 3).
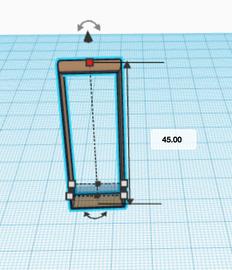
Step 4:
Click and hold the red dot on your shape, and drag the height up to 45. You could type this number in if that's easier.
Click and hold the red dot on your shape, and drag the height up to 45. You could type this number in if that's easier.
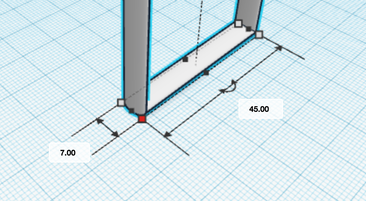
Then type the length and width values in for the base, L 45.00 x W 7.00.

Step 5: Change the color of your object to white!
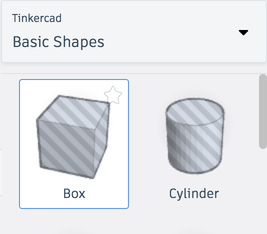
Step 6: Going back into your Basic Shapes folder, select the 'box'.
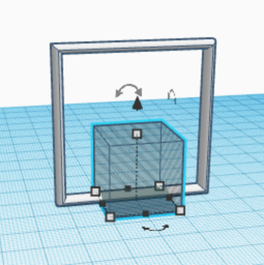
Place it in the center of your frame.
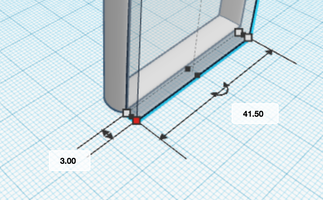
Step 7:
Edit the base of your box to L 41.50 x W 3.00.
Edit the base of your box to L 41.50 x W 3.00.
Drag the height up and move your shape around until all the sides match up and connect. (Your shape will look a little different, because you haven't made it transparent yet. That's the next step!)
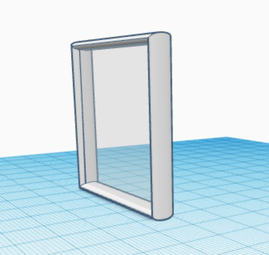
Step 8:
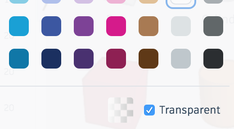
Change the color of your shape to white, and then select 'transparent'.
Change the color of your shape to white, and then select 'transparent'.
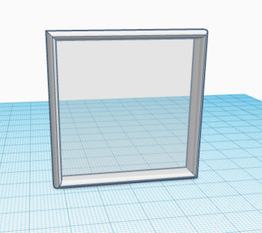
And that's it! Your shape should have transformed into your very own window! After printing, use markers or highlighters to turn your 3D printed window into a stained glass piece of art! Remember to think about the visual design of your energy and what colors you and your group members agreed on.
